The Salesforce Web to Lead functionality offers an easy way to get leads from your website into Salesforce. Although there are some constraints with its use, it will satisfy the requirements for many organizations. Salesforce also offers a way to associate the leads from the webpage to a particular campaign. You can also have multiple web-to-lead forms from multiple websites or landing pages, all inserting leads in Salesforce and either capturing the source of the lead or associating it with a particular campaign.
The Web-to-Lead functionality in Salesforce generates a form which can be integrated in your website. This form then captures data which is used to create a new lead in salesforce. Just as the name suggest ‘Web-To-Lead’.
Implementation
To generate a web to lead form go to:
Setup ->Build ->Customize ->Leads ->Web-To-Lead
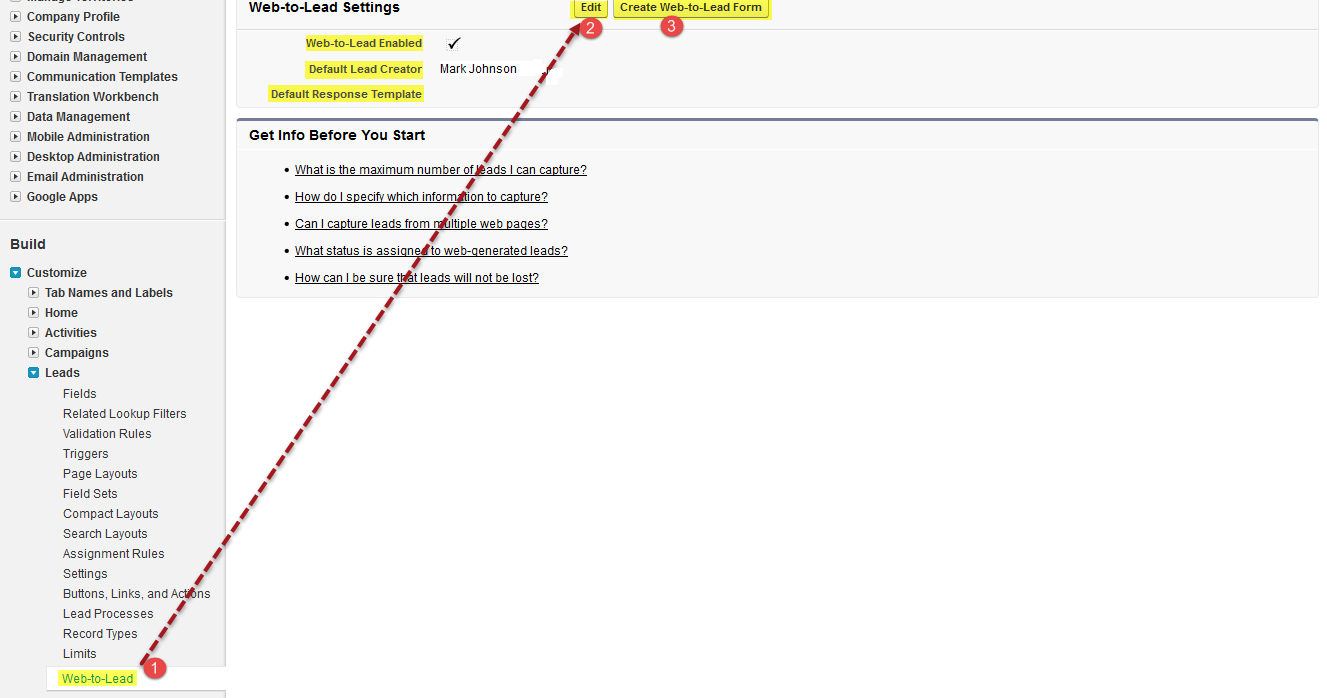
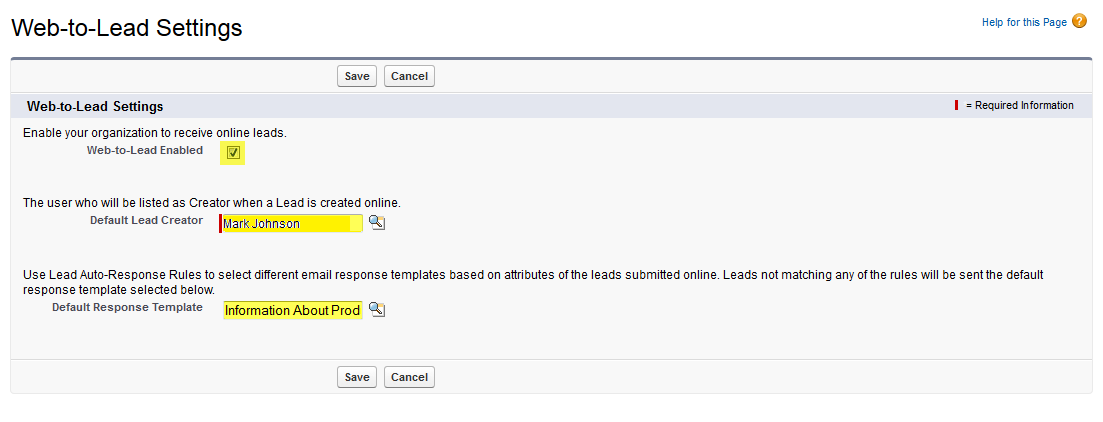
Here we can enter the following :
- Web-to-Lead Enabled ->Check this to enable Web-To-Lead in your organization
- Default Lead Creator -> Creator of the Leads when created by Web-To-lead. If no lead owner is specified in lead settings and in absence of any lead assignment rules, this User/Queue will be the default lead owner.
- Default Response Template -> Template used for lead auto response rule
After completion of Web to Lead settings.

- Click On Generate Web-To-Lead Form
- Select the fields which you require in the form.
- Select any custom fields. In our case we consider a case where a customer will be filling an enquiry form for one of the three beauty products, which we name ‘A’, ‘B’ & ‘C’. To capture this I created a custom picklist field ‘Product Of Interest’ in the lead object.
- Return URL to which the website will be redirected when the form will be submitted. Usually It’s a thank you page or home page. We will fill this field with URL of a ‘Thanks You’ image file
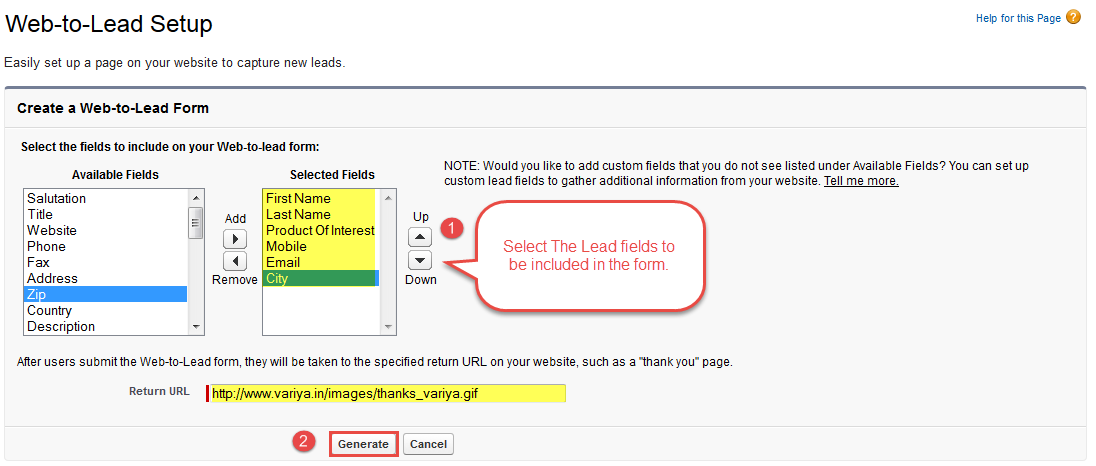
- Click on Generate
- An HTML form will be generated as shown below:
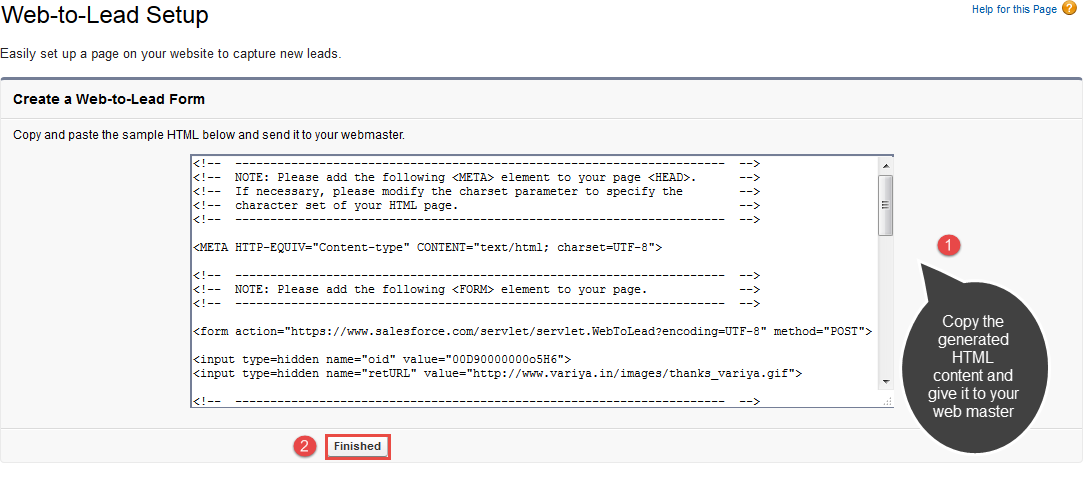
- This is our web-to-lead form.
- Copy this entire form and paste it in a notepad (Or notepad++, in general any text editor) and save it with extension ‘.htm’ or ‘.html’.

- That’s it. We just created a form that will help generate leads for us.
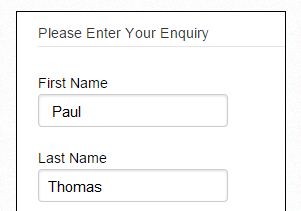
- Open this file in a browser. You will see a web page like this :
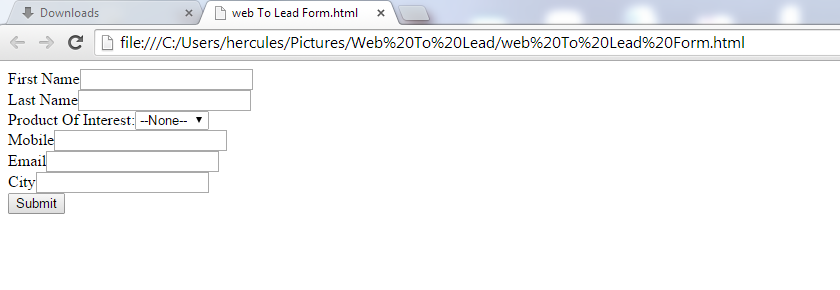
- Give this to your web master.
- They will integrate this web page in your website and add CSS to the web page to style it.
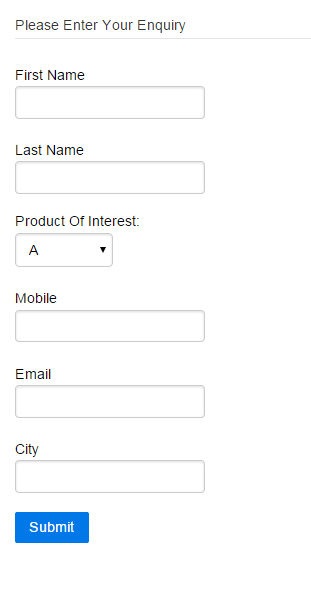
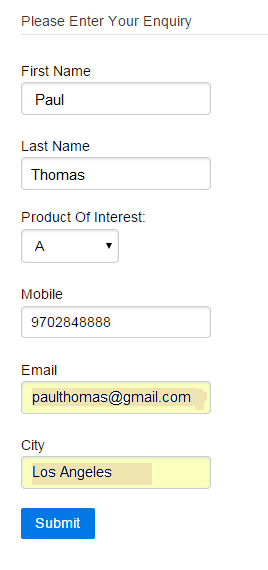
After applying CSS to the page and it can be transformed like this:
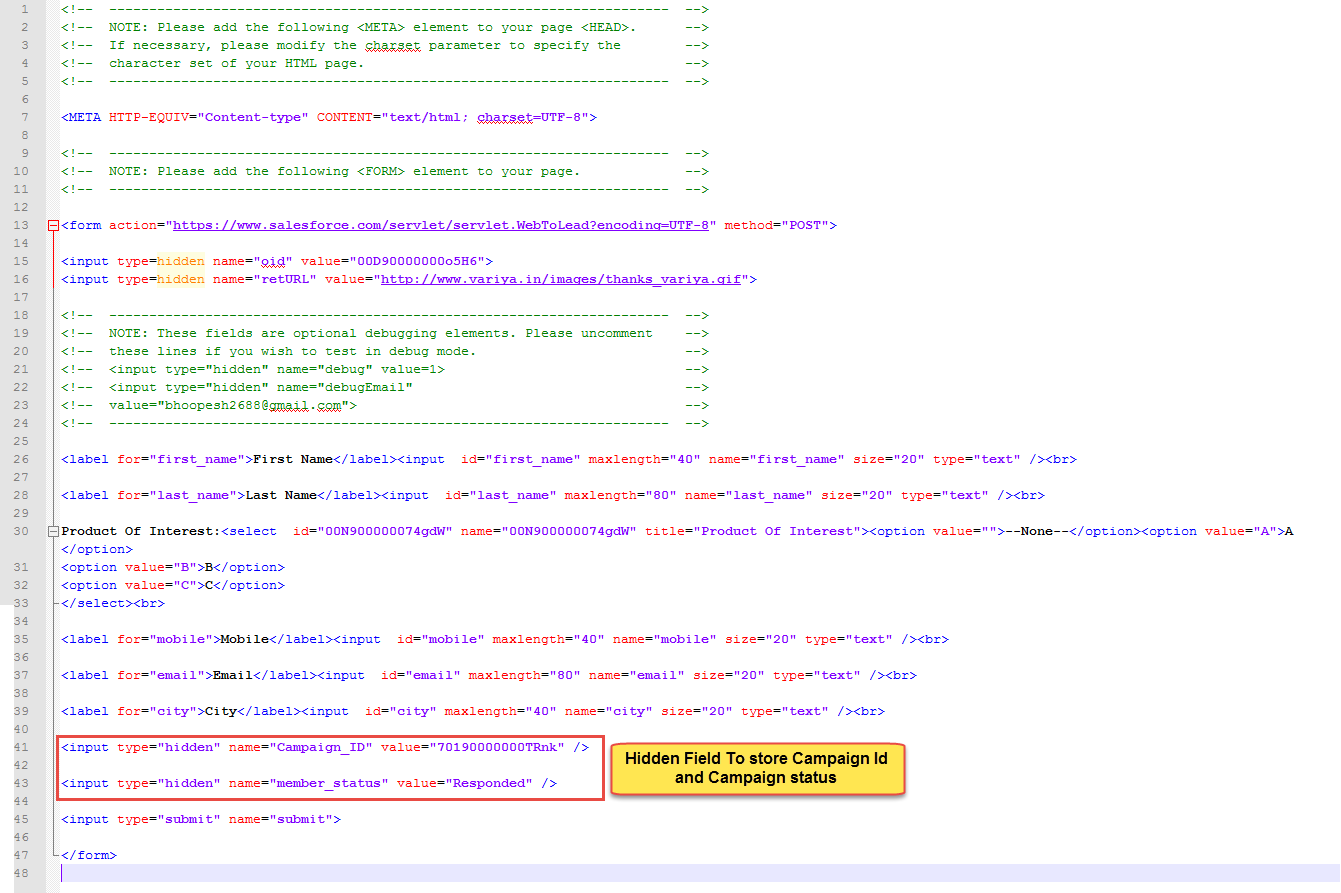
If we look more closely at what the file actually contains:
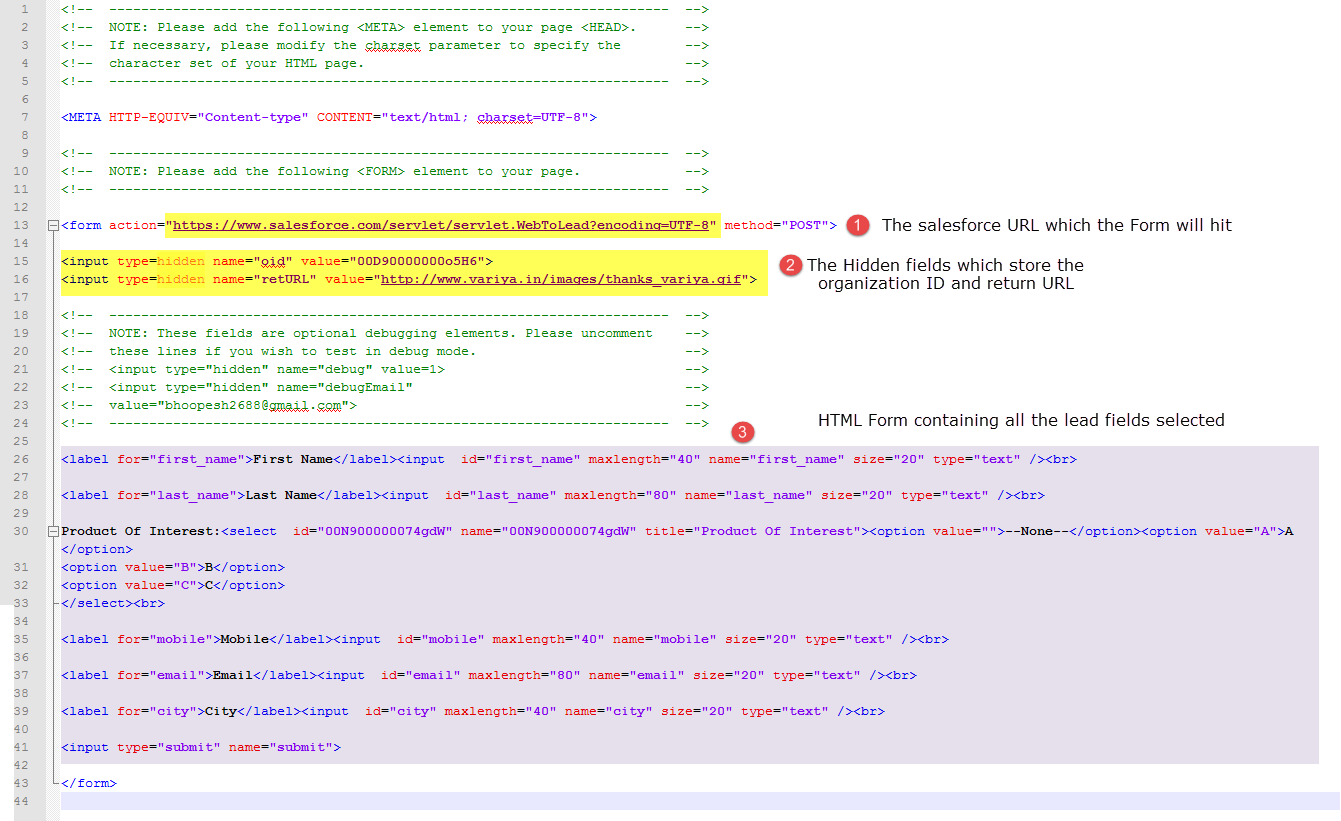
1 -> This hidden form element stores the Organization Id (oid) of our org.
2 -> This hidden form element stores the return URL mentioned during form creation.
3 -> The rest of the form elements are input elements which correspond to lead fields.
If we want to associate the created lead to a campaign and set the campaign member status to a predefined value then we need to add the following two lines to the generated form.
1) Hidden form element which will store campaign ID.
To get the campaign Id :
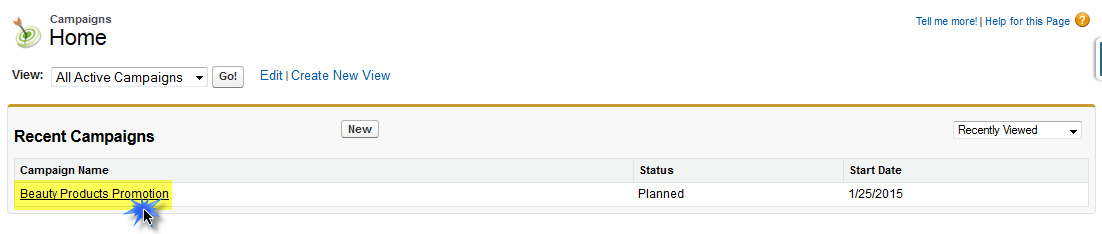
- Click on Campaign Tab
- Find the required Campaign
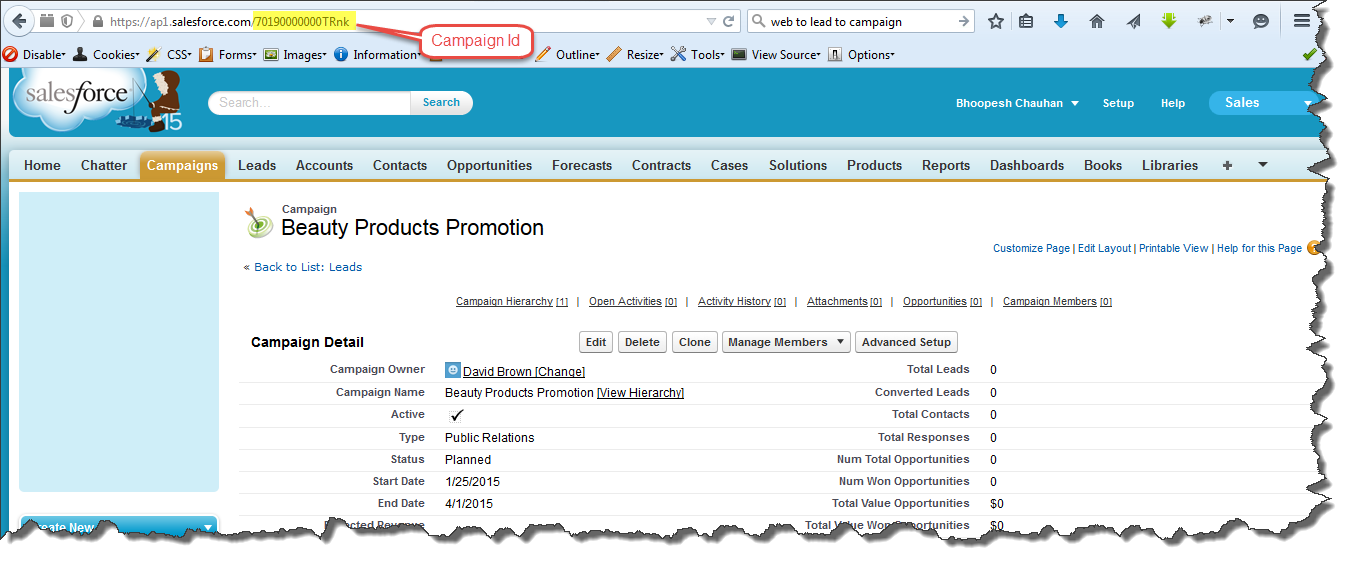
- Click on Campaign Name
- In the URL you will find the Campaign ID as shown above :
2) Hidden form element which will store the predefined status for the created Campaign member.
Testing The Form :
- Navigate to the webpage that is stored locally on your computer or on a server using your browser
- Enter the form details
- Click on Submit.
After clicking Submit:
- The page gets rediredected to return Url (which is a thank you image)
- A lead is created in our salesforce org.
To view :
1) Click on Leads Tab.
2) Select view ‘My Unread Leads’
3) Search your newly created Lead

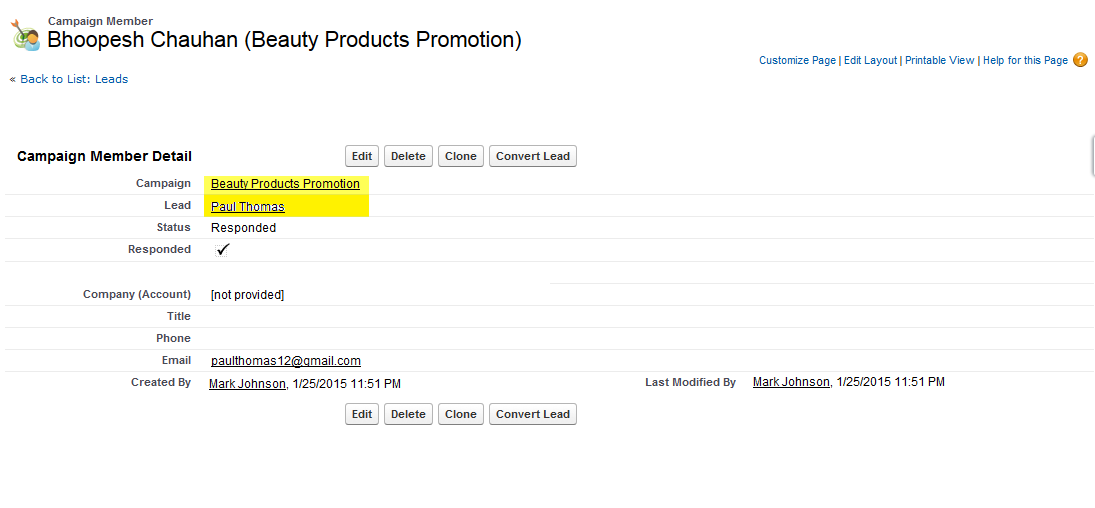
- A Campaign member is created for the required campaign.
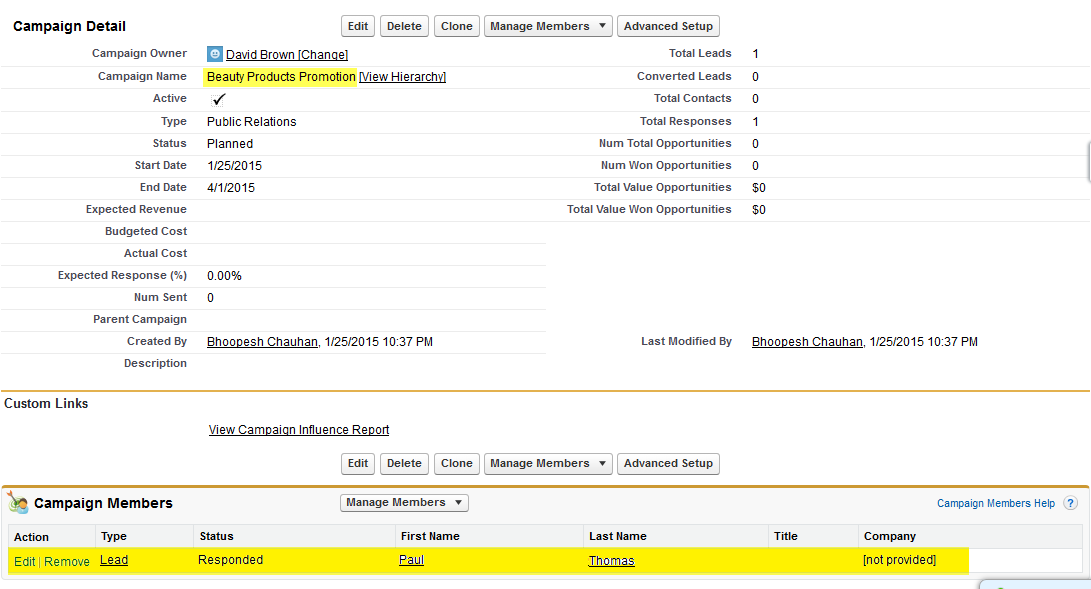
To view :
• Click on Campaigns Tab.
• Search and click your campaign
• You can find the newly added campaign member in ‘Campaign Members’ related list
- Observe that status of the campaign member is ‘Responded’. Exactly what we set in the hidden form element.
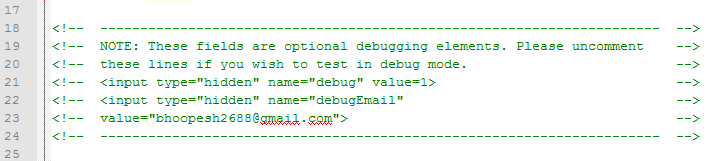
Testing the Form:
Web master will have to uncomment the following lines in the form:
- This hidden form element indicates if debugging is on or off. 1 means ON.
- This email Id to which the response from from will go. Webmaster can replace the email-Id his/her own.
Lead Settings :
Go To Setup->Build ->Customize ->Leads ->Settings
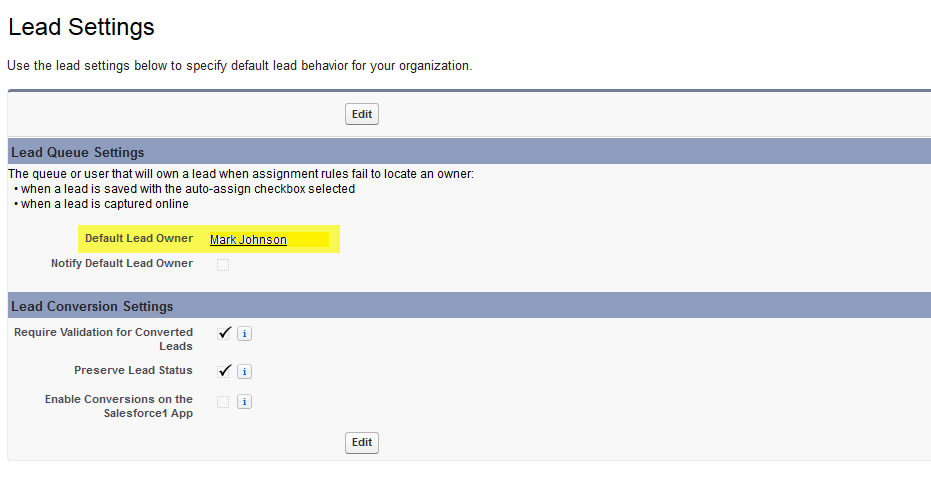
- Here you can specify the default lead owner.
- Click on Edit ->Change the default lead owner.
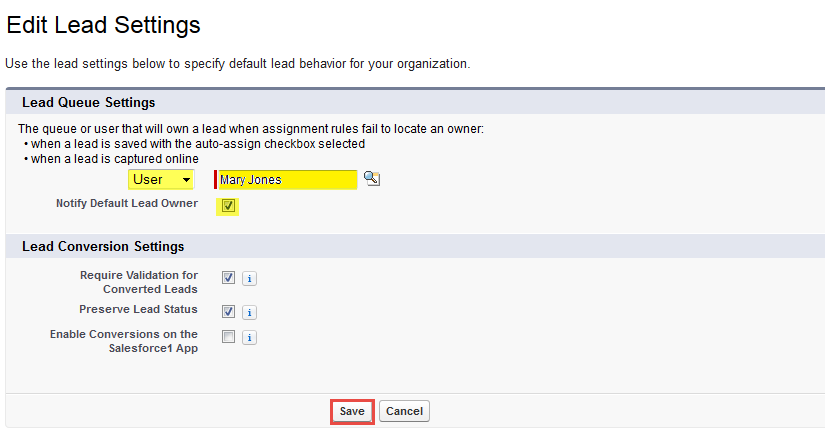
- Click on Save. Default Lead owner is now changed.
- So whenever a web-to-lead is created the ownership of the lead will be transferred to this User/Queue.
Notice that the lead creator is different than lead owner in the below lead (This is after default lead owner was specified in lead settings).

Alternatively we can have leads assigned to different users based on the product selected by the customer in the form. To achieve this we can have lead assignment rules.
Points To Note :
- During salesforce downtime or scheduled maintenance, leads are cached in a queue and inserted when salesforce instance starts running
- In case of any error during lead creation, and if debug log is not set then an error email is sent to admin users
- Maximum number of web-to-lead requests within 24 hours is ‘500’. Though It can be increased after contacting Salesforce.
- To test web-to-lead in a Sandbox we must modify the action url in the html form. Instead of test we must replace it with instance number (cs0 or , cs1, or cs2 ….)
- Check this link for further instructions:
- https://help.salesforce.com/HTViewSolution?id=000038182&language=en_US
What Certification are you studying for now?
Focus on Force currently provides practice exams and study guides for sixteen certifications